Click to watch the video:
Step 1: Turn on Repeat mode
Operation: Turn on Repeat mode in the laser marking software for continuous printing tests.

Step 2: Adjust the focal length
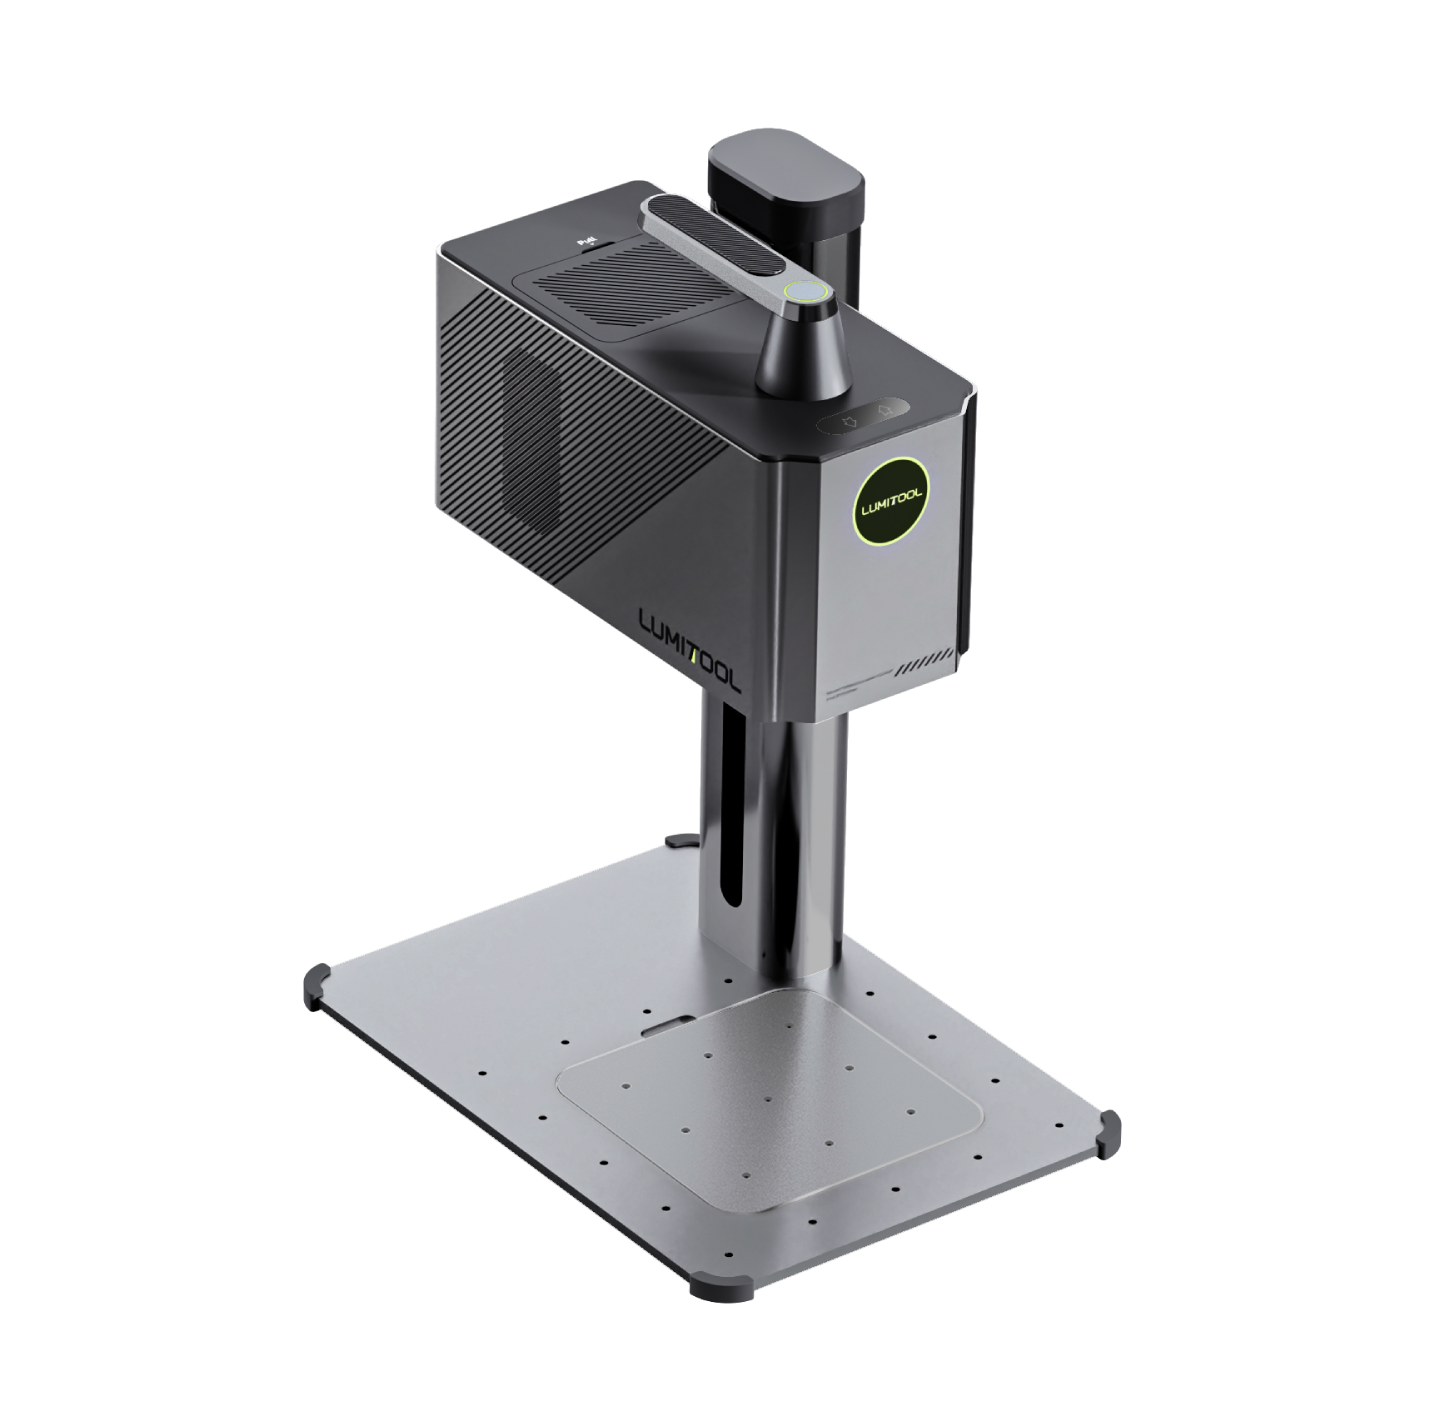
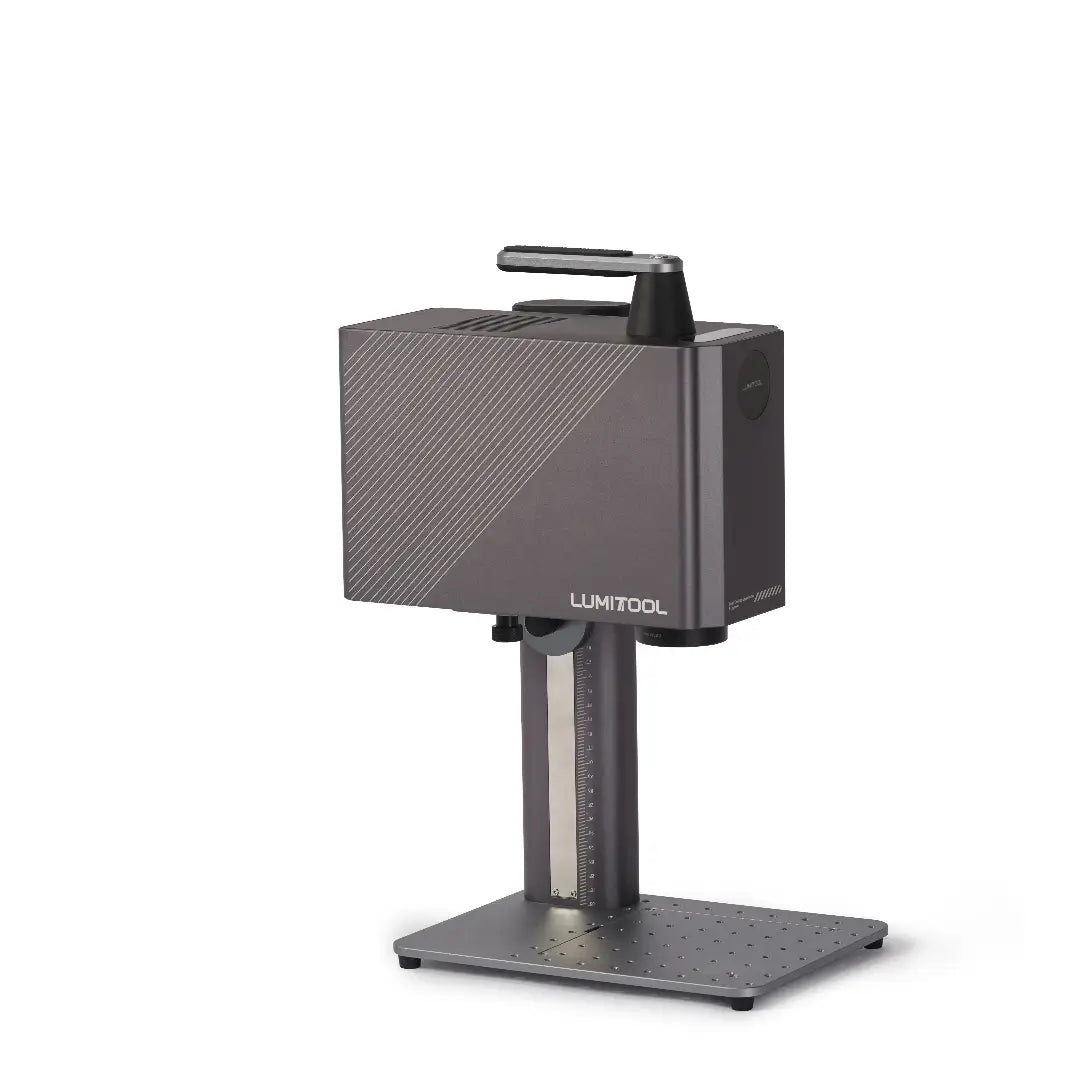
Operation: During the printing process, use the up and down adjustment buttons to move the laser head to find the position with the strongest light.

Step 3: Determine the best focal length
Operation: When you find the position with the strongest light, record the focal length position at this time, which will be the best focal length.

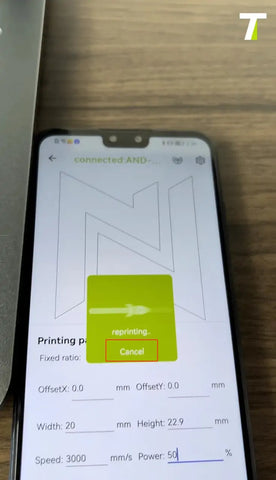
Step 4: Cancel Repeat printing
Operation: Click Cancel Repeat printing to stop continuous printing.
Step 5: Adjust the two red dots
Operation: Without marking, adjust the two red dots until the two red dots are completely overlapped. (Adjust the red light output, the laser head can rotate 360°)


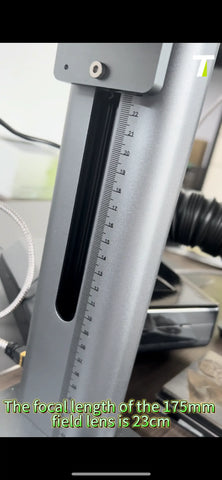
The focal lengths of 110mm/150mm/175mm field lenses are as follows:
110mm field lens: focal length is 14cm.
150mm field lens: focal length is 19cm.
175mm field lens: focal length is 23cm.


Note:
Adjust the focal length according to the thickness of the material.
For example, when the field lens is 110mm and the material thickness is 3cm, the focal length needs to be adjusted from 14cm to 17cm.
Summary:
1.When adjusting the focal length, be sure to ensure the safety of the equipment and operating environment.
2.Adjust the focal length according to the actual thickness of the material to ensure the best marking effect.
3.When adjusting the position of the red dot, make sure that the two red dots completely overlap to improve the accuracy of the marking.

